Project 52 - week 12 - Deeper Focus

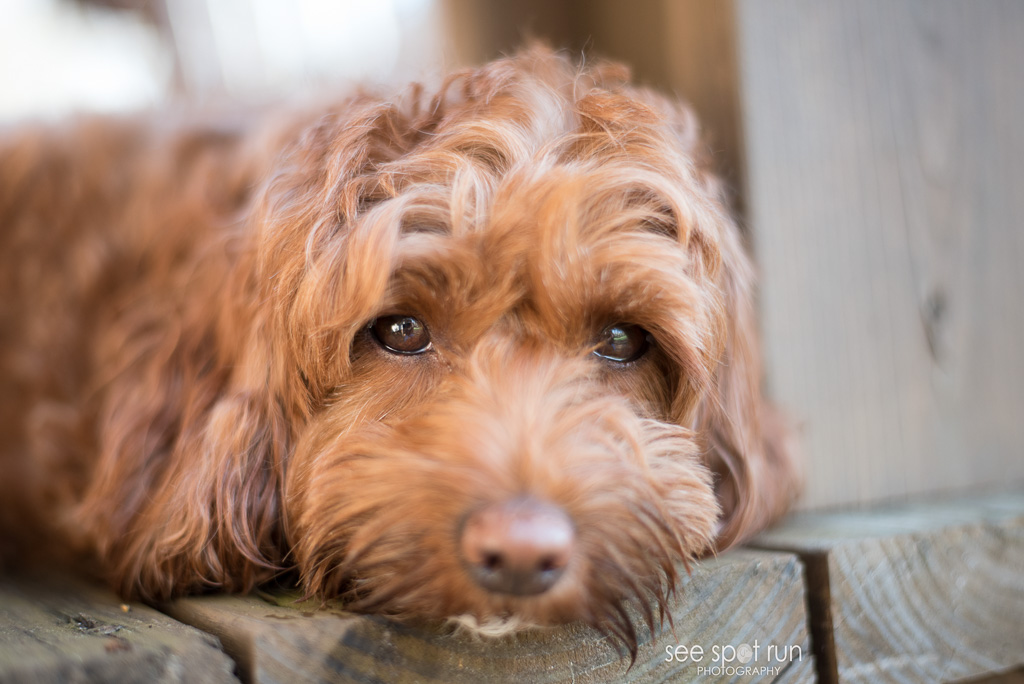
In week 12 of the Project 52 challenge, we are working on creating images with a deeper focus.  In other words, we want all of the image to be sharp, not just the subject or part of the subject.  The assignment said to adjust the aperture to f/10 which I did.  I was trying to keep my ISO as low as possible so the photo wouldn't be so noisy (grainy) which meant that my shutter speed was pretty low.  And what that means is if anything I'm trying to photograph moves, it won't be sharp. I should've adjusted to f/8.  You see, I know this brown dog very well.  This is my guy Moose and to get this photo, I had 2 photography assistants helping me.  He's a great dog but not the easiest to photograph.  His name is Moose and his name fits!  He's a bit of a goofball - high energy and food motivated with a pretty strong prey drive.  He will 'sit' on command but he's not so good at 'stay.' :(

Here is the (long) back story:  Tuesday I'd posted on our facebook page that I was having a problem finding a location to use that had a pretty enough background to keep sharp.  Many times I am in an area where I prefer to blur the background because it is cluttered but this week I'm supposed to keep the entire photo sharp.  I had envisioned going to a Freedom Park which is really pretty (see below.) There I would have a really pleasing background.  However my assistant(s) and I couldn't get our schedules coordinated to make that work.

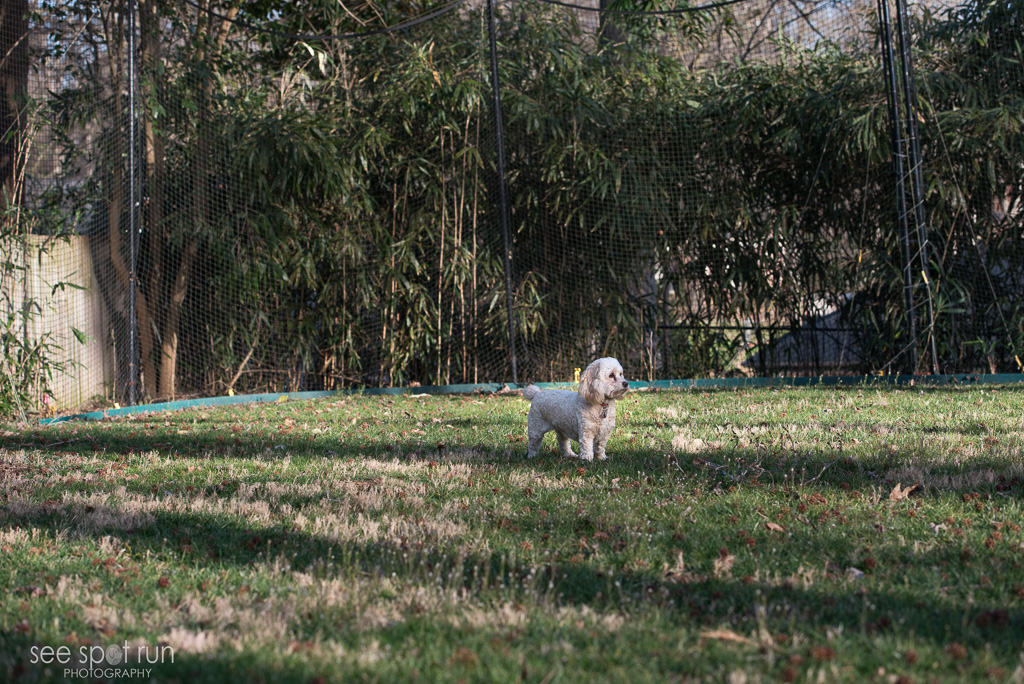
In trying to come up with plan B, I thought about the blooming bushes in my own front yard.  If I could get Moose in front of them, it'd make for a nice photo.  So Wednesday morning, I had Moose outside when the neighborhood kids (who are my two best assistants) were waiting for their school bus and I asked them to help me.  We had a window of about 15 minutes before the bus would come to try and get a photo that would work.

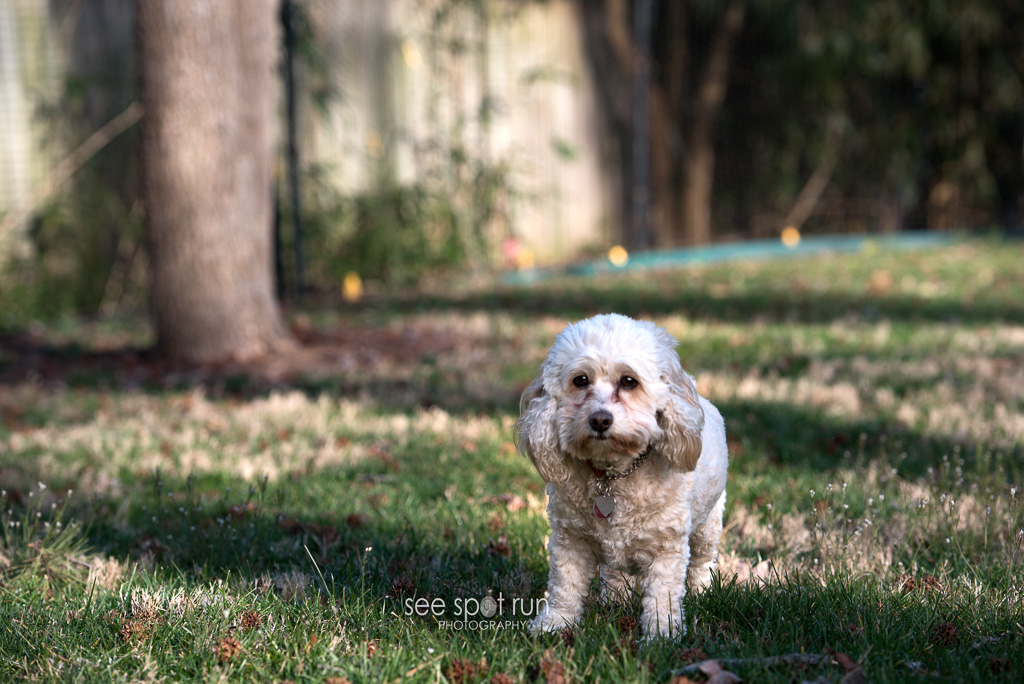
And this one does, sort of.  All of Moose (and there is a lot of him at 90lbs) is in focus, albeit not as sharp as I would like but the bushes behind him aren't.  If he wasn't sitting so close to the pink bushes, they'd be more in focus but this is where he finally sat down so I snapped away.   Trying to move him forward and getting him to sit again would've been a challenge.  With Moose, you take what you can get!

deeper focus

So, in this photo, Gracyn is standing with the leash camera right.  Kelly is standing near me with treats in her hand.  I'm about 20 yards away from Moose.    Caption this photo: What does the look on Moose's face say?

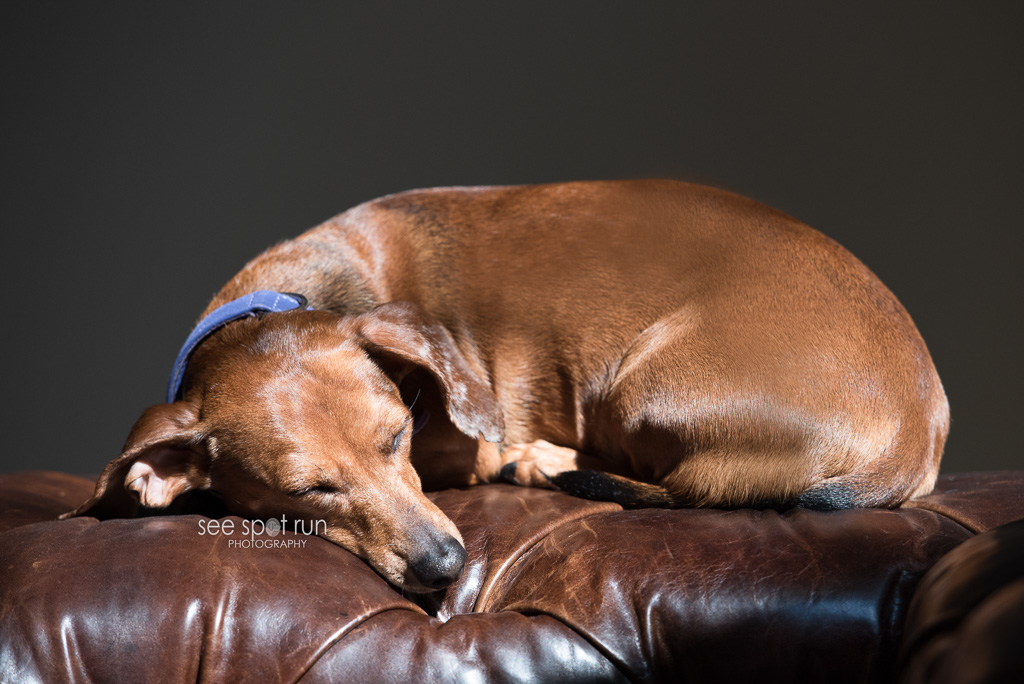
He's a funny dog - he is either crashed on the couch or he is going ninety to nothing.  My husband says he's a great dog 90% of the time and by that, I think he means when he is sleeping because the dog loves to sleep!

When he is outside and especially when there are treats around, he's pretty excited.  That's why I should've known better than to try and take a photo with these settings.  He wasn't very still and I'm disappointed that this image isn't tack sharp.  Perhaps camera shake is at fault too.  If there is another photo posted of Moose below with deeper focus, you will know I roped the girls into helping me Thursday morning before school too!  They're such good sports.

I did get this photo of some Canadian geese earlier in the week.  It's at f/8 and has the deeper focus the assignment required and below that are photos of Freedom Park from last fall.  Next up in the blog circle is Pet Love Photography, serving Greater Cincinnati and the San Francisco Bay Area.  Be sure to keep clicking the links at the bottom of each post to see each photographer's take on the Project 52 assignment - creating photos with a deeper focus.

deeper focus

deeper focus

deeper focus

Isolation: Use a Wider Aperture - Project 52 - week 11

It is week 11 in the project 52 challenge and we are to 'isolate our subject using a wider aperture.  Using a wide aperture means we are supposed to use a small f/stop number such as f/1.8.   The assignment's goal was to help us get a better sense for the difference between shallow focus, deep focus and the middle ground also known as depth of field (DoF).  DoF is something I really struggled to understand but over the past month or so, I've gotten a better handle on it.  I thought the aperture was the only thing that affected the DoF but just as our book states, camera to subject distance matters when it comes to DoF.  I worked on this several weeks ago so where I normally feel like I'm trying these exercises from a kindergartner's perspective, this week I may have progressed to elementary school level.  Woo hoo! If you like to study the detail in a photo, these images will give you a chance to do that.  Can you immediately see a difference in these first two photos?  If you'd asked me that a year or so ago, I probably would've said no, I don't see much that is really different.  Now though, I do see some differences.  More of her face is sharper in the top image and the only adjustment I made on the camera was the aperture.  The top photo is at f/8 and the 2nd one is at f/16.

wider aperture

I am really close to Lucca in both of these photos.  To be this close to her and to get a super sharp image, I should have increased my ISO.  With my ISO at 640 and an aperture of f/16, my shutter speed was too low to at 1/6 to handhold the camera for this shot.  I would've needed my tripod to get the shot sharp at an aperture of f/16.  Her right eye is pretty sharp and that's where I had my focus point but the rest of her face isn't tack sharp.

not using a wider aperture

wider aperture of f/1.8

For this last photo, I used the widest aperture on my lens, f/1.8 and in this case I am isolating her eyes.  When the camera is as close to the subject as I was at f/1.8, you will have an extremely shallow DoF (and by shallow I mean just mere inches.)  Here Lucca's right eye is sharp but her nose and the fur around it aren't.  That is what using a shallow DoF and being really close to your subject will do.  I could've put the focus point on her nose to make it sharp which may have been funny but her eyes wouldn't have been sharp.  A sharp DoF can be just a few inches and in this case, it was.

Knowing all of the above is just one element of photography that makes it so complicated.  Soooo complicated BUT fun!!

Thanks to my lovely model Lucca.  We'd been out for our walk, she'd followed a bunny scent around her yard and then she decided to chill on her deck.

Go to Beyond the Fence Dog Adventure Photography's page to read her take on this week's assignment.

Black Dog Appreciation Day - April 2, 2016

black dog Paws in the Park, an event in coordination with Black Dog Appreciation Day and Dog Walk will be held on Saturday April 2, 2016 at Pineville Lake Park (1000 Johnston Drive Pineville NC 28134) from 10am - 2pm. This is a free, kid friendly, and furry-kid friendly event. At 12pm, there will be a dog walk around the lake. Dogs of any color can attend!

This event was started a few years ago to help bring awareness to Black Dog Syndrome. Black dogs in shelters are typically the last dogs to find homes and the first ones to be euthanized. By walking dogs together and promoting the black dogs in need of forever homes, we can spread awareness about Black Dog Syndrome and begin to change the odds for homeless black dogs. I thank Lab Rescue of NC from the bottom of my heart for rescuing Buddy (pictured here), a black labrador on Oct 27, 2008.

In December 2008, I lost my first labrador retreiver Sloan (she was chocolate) to cancer. Two weeks later on New Years Eve, we brought home Buddy, my first black dog. He was my heart dog: that once in a lifetime (twice if you're lucky) dog. We were told by Lab Rescue of NC that Buddy was anywhere from 7-10 years old when we got him. I told my husband as soon as we got him that however long we would have him, it would not be long enough. He lived with us for almost 6 years and that wasn't long enough but I cherish every minute I had with him. My Buddy aka The Budster.

One of my biggest regrets is not having great pictures of Sloan. I have a ton of pictures of her but none that are really good. In the summer of 2014, we knew that Buddy's health was deteriorating and I had been considering buying a 'real' camera so I did. I had the camera for 6 weeks before we lost Buddy. The image above is one I took of Buddy and I can't tell you how much comfort I get from looking at this gray face.

Because of Buddy, Black Dog Appreciation Day means a lot to me. I will be there in his memory.

Why does Black Dog Syndrome exist? Black dogs are typically the last to be adopted because they are hard to photograph. In most shelters the lighting is poor and it is hard to make out facial expressions so the images are generally poor.  We are so fortunate to have professional photographer Fred Levy, Author of The Black Dogs Project attending Paws in the Park and he is also putting on a seminar on 3/31/16. Here are the details for the seminar (which I'm attending of course!):

Learn how to photograph Black Dogs from Fred Levy, Author of The Black Dogs Project. Thursday March 31, 2016 South Charlotte Banquet Center 9009 Bryant Farms Rd, Charlotte, North Carolina 28277 7pm - 9pm. Doors open at 5pm. Admission is $10 (cash) at the door or in advance at charlotteblackdogs@gmail.com

***Sorry, no dogs allowed at this***

Please come out and support See Spot Run Photography at Paws in the Park and drop by my booth to say hello. I'll be taking photos of the dogs attending and I'll post them at seespotruncharlotte.shootproof.com after the event.

Isolation: Use a Longer Lens - Project 52 - week 10

Our week 10 Project 52 assignment is to create isolation in an image using a longer lens.  When you use a longer lens, you are zooming in on your subject or pulling them nearer to you.   We were to pay attention to these behaviors:  How tight is the angle of view?  What are you able to exclude from the frame? Usually when I am photographing the dogs I walk, I am in their backyards and a lot of times there are distracting elements that I want to exclude from the frame.  When I use my longer lens zoomed in at 200mm, I am using a tighter angle of view which allows me to intentionally exclude those elements.

My model this week is Molly. I LOVE her big brown eyes however shortly after we got in her backyard, Molly's nose picked up the scent of a rabbit so I didn't get much of a chance to photograph those lovely eyes of hers.  I snapped these photos quickly before she took off to find said bunny and after that her nose was very busy and she barely lifted her head to look at me. She did find him although Peter Cottontail escaped unharmed.  

using a longer lens

using a longer lens

Of these two photos, I prefer the top image. I was able to create it by using a longer lens and isolating my subject, cute little Miss Molly.  The bottom photo was taken from approximately the same place with the lens zoomed out.

btw - Molly likes to eat apples and watching her eat them and hearing them crunch makes me laugh every time!  Greatest job ever!!

Next up in the blog circle is Little White Dog Pet Photography - Sioux Falls, SD and be sure to keep clicking the links at the end of each post to see all of this week's entries.

Learn to Isolate - Project 52 - week 9

Our Project 52 week 9 challenge is to Learn to Isolate.  The instructions were to look at a few images from other photographers I love and ask what role does isolation play in the image.  I am drawn to images that are really close up and those that are monochromatic.   I knew immediately I wanted to take some really close up photos to isolate the eyes, nose or ears.  I thought this was going to be simple.  I was wrong.  I even pleaded for help to the Project 52 online group and thanks to Susannah for making a few suggestions. I was excited to begin taking photos but I struggled with getting the results I wanted.  I wanted to get really close to my subject but that created a few problems.  First problem:  Some dogs don't want a camera that close to them so that means I needed to find a subject that didn't care at all about my camera.  Enter super cute little chihuahua Sunny and dachshund Louis. :)  (FYI - I was hoping for a photo of even littler Lola, a white chihuahua who lives with Sunny and Louis but she was being a little camera shy.)  2nd problem which was harder than the first:    Determining which lens would be best to use.  I tried every lens I have.

learn to isolate

learn to isolate

learn to isolate

This challenge is going to be one that I will continue to work on since I am drawn to photos that isolate different parts of a subject.

I love doing these weekly challenges because I always learn something and this past week was no exception.  I learned a lot about depth of field and how close I can physically be to my subject when I am photographing them to keep them sharp.  On Sunday of last week, I started working on this challenge and I learned more that Sunday about photography than I have in quite some time.

As a new photographer, I am still finding my way and identifying my own style.  This exercise really helped me take several steps forward with my own personal photography journey.

Next go to Little White Dog Pet Photography - Sioux Falls, SD  to read about her take on Learn to Isolate. Remember this is a blog circle so keep clicking the links at the end of each post.  Happy reading!

Wide Angle Inclusion - Project 52 - week 8

Our Project 52 week 8 challenge is to "use a wide angle lens to create a sense of inclusion."   The book we are using as our guideline, "The Visual Toolbox" states that wider lenses more closely mimic our peripheral vision and will allow the viewers to feel as if they're part of the scene.   I must admit when I read this week's assignment, I got excited.  After last week's not so great results, I felt I might have better success with wide angle inclusion AND I was headed to the NC mountains with friends (and their dogs!)  What perfect timing for our assignment using a wide angle lens and my subject Topsy the golden retriever was more than happy to model. Then I got a little side tracked.

I was soooo excited to be out with my camera, I forgot to keep the focal length wide.  I started out using my 24-70mm lens and I did take some shots in the 26mm range but most of the ones I ended up taking were 70mm+ because I put a bigger lens on my camera.   I forgot about the actual intent of the challenge 'wide angle inclusion' as I was just focused on trying to get a sharp image of my subject who was not still for very long periods of time. :)  Can you blame her?

This image isn't tack sharp but it was shot at 26mm.  Topsy is actually in a harness, on leash with her mom holding the other end, all of which is in the original photo so this one provided great photoshop practice for me.  I also am wondering if I need to get my 24-70mm lens calibrated.  After this past weekend, I want to set it up on a tripod and see if I get sharp results because I'm not happy with these and I'd like to think it may be the lens and not me. (That however is not likely I'm afraid!)

wide angle

I loved this assignment and I wish I would've had even more time in the mountains to practice because what this really taught me is that I need more instruction on composition.  I had a beautiful subject and a beautiful background but my images "composition-wise" are lacking.  I would love suggestions from others on how I could've made this shot more appealing.

I've also recently been reading some facebook posts about using a Depth of Field (DoF) calculator.  I've not used one before but I think it would help me know where I need to be in relation to my subject.  Does anyone use one regularly and if you have an iphone, is there a specific DoF app you'd recommend?

Next up in the blog circle is Northeastern PA Pet Photographer, I Got the Shot Photography.  Be sure to continue clicking the links at the end of each post and then you'll end up right back here.