pet photographer Charlotte

Learn to Isolate - Project 52 - week 9

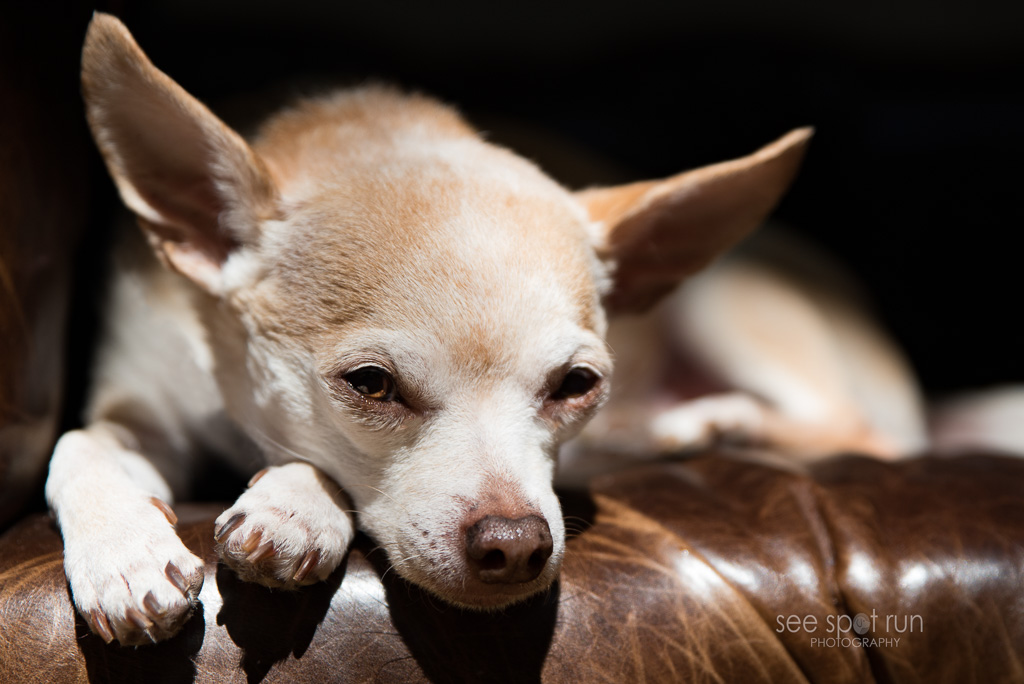
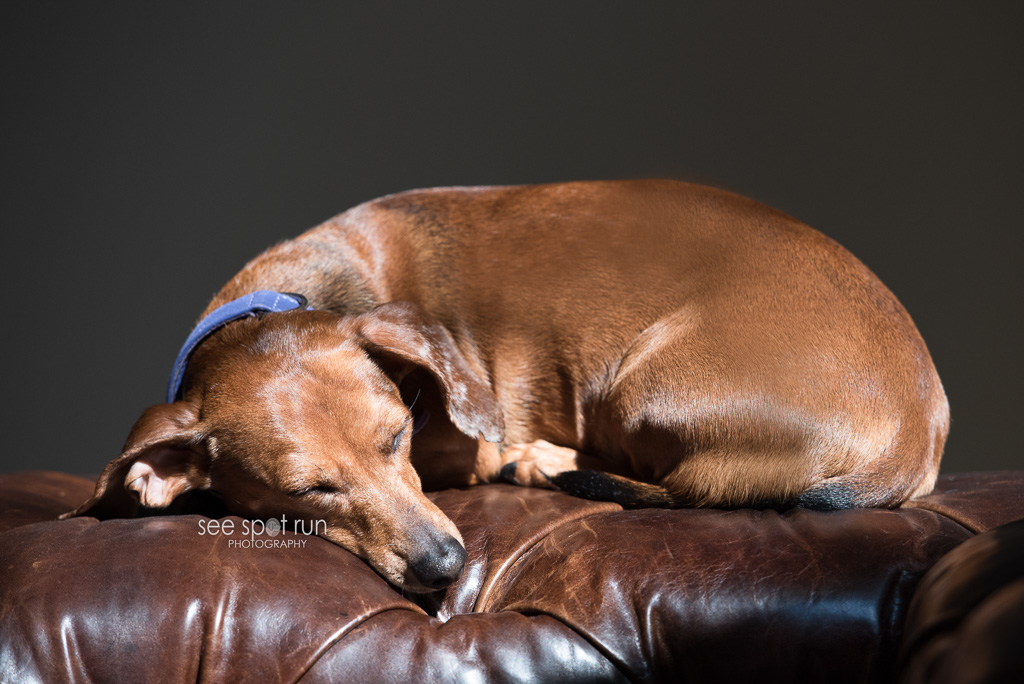
Our Project 52 week 9 challenge is to Learn to Isolate.  The instructions were to look at a few images from other photographers I love and ask what role does isolation play in the image.  I am drawn to images that are really close up and those that are monochromatic.   I knew immediately I wanted to take some really close up photos to isolate the eyes, nose or ears.  I thought this was going to be simple.  I was wrong.  I even pleaded for help to the Project 52 online group and thanks to Susannah for making a few suggestions. I was excited to begin taking photos but I struggled with getting the results I wanted.  I wanted to get really close to my subject but that created a few problems.  First problem:  Some dogs don't want a camera that close to them so that means I needed to find a subject that didn't care at all about my camera.  Enter super cute little chihuahua Sunny and dachshund Louis. :)  (FYI - I was hoping for a photo of even littler Lola, a white chihuahua who lives with Sunny and Louis but she was being a little camera shy.)  2nd problem which was harder than the first:    Determining which lens would be best to use.  I tried every lens I have.

learn to isolate

learn to isolate

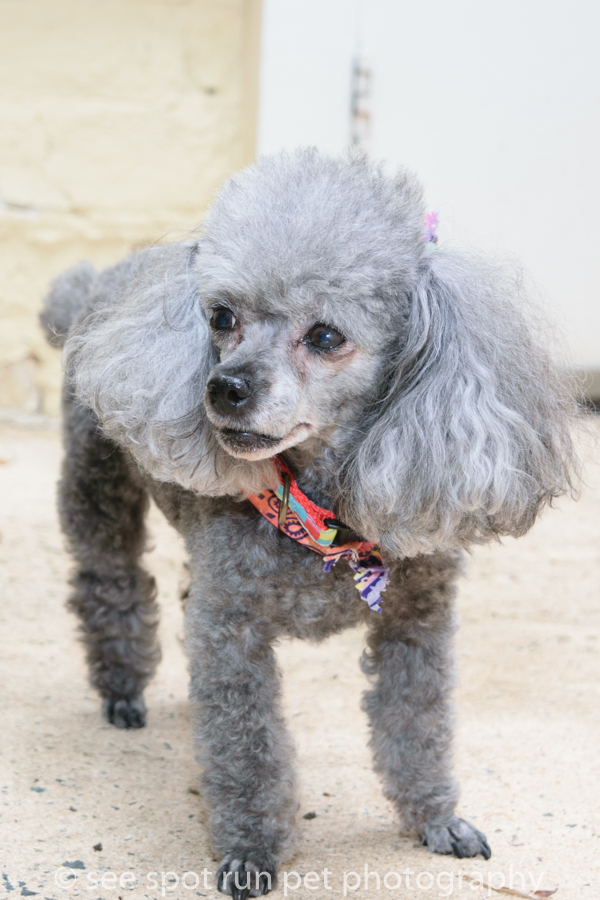
learn to isolate

This challenge is going to be one that I will continue to work on since I am drawn to photos that isolate different parts of a subject.

I love doing these weekly challenges because I always learn something and this past week was no exception.  I learned a lot about depth of field and how close I can physically be to my subject when I am photographing them to keep them sharp.  On Sunday of last week, I started working on this challenge and I learned more that Sunday about photography than I have in quite some time.

As a new photographer, I am still finding my way and identifying my own style.  This exercise really helped me take several steps forward with my own personal photography journey.

Next go to Little White Dog Pet Photography - Sioux Falls, SD  to read about her take on Learn to Isolate. Remember this is a blog circle so keep clicking the links at the end of each post.  Happy reading!
The Photography Learning Curve

In the past 3-4 months, I have been thinking a lot about what I'm calling the photography learning curve. I applied to and was accepted to attend a pet photography workshop this spring. (Look for future posts about this exciting... and I mean EXCITING news!) Once I was accepted to the workshop, I knew I needed to spend time on improving my photography skills. I know the point of attending the workshop is to become a better pet photographer so perhaps my previous statement doesn't make a lot of sense to some of you but I want to get everything I can out of the workshop and I don't want to feel like the topics being discussed are over my head. I knew I had a lot of homework to do prior to the workshop. I was having a conversation with a friend yesterday and he was asking about See Spot Run and the conversation turned towards my pet photography. I told him about the workshop this spring and how excited I am. His comment was "I didn't know there was so much to learn about photography." I laughed and told him I had no clue when I bought my camera in 2014. Let me just say, the photography learning curve is steep. The 'pet' photography learning curve is just plain hard. But oh how I love it!

Here is an example of a photo I took in December that I am really happy with the result and below it is a photo I took after having my camera for a few weeks. The differences in the photos are obvious, right? photography learning curve

Here is an example of a photo taken by me three weeks after I got my camera: photography learning curve

Both of these photos are close up shots of similar colored dogs. How can they be so different and why is one better than the other? The answer is what makes photography so complicated. (The answer isn't that one dog is staring directly at the lens of the camera.)

Photography and cameras are both complicated. How many of you have nice cameras but you don't know how to really use them? Are you confused by all of the dials and buttons? Is yours just programmed to be used on automatic?

I recently read an ebook entitled "Photo Nuts and Bolts" by Neil Creek. The introduction discusses understanding the theoretical fundamentals of a camera and let me just say, I struggled through my science classes in high school and I struggled with understanding the concepts in this book too. The ebook discusses how a pinhole camera works and how bending light affects all photography. This is known as refraction and is something I've not ever thought about when I am taking a photo until now.

Understanding aperture, shutter speed, and ISO (the exposure triangle) are critical to taking good photos. Understanding white balance, metering, focal length, depth of field, and even more complicated subjects like hyperfocal distance are all topics that are part of the photography learning curve.

To completely simplify photography, you can think about these 3 parts: 1. Understanding the camera 2. Actually taking the picture 3. Editing the picture

Once you know how to use your camera, then there are an entirely different set of issues to think about before snapping the shutter button. What is your light source and where is it? If you are outside taking pictures for 30 minutes, is your light source changing? If you photographing a dog and he is running around in the shade and in the sun, your light source is changing! Then there is composition. There are books written solely on composition and there are actually rules about proper composition. Who knew??

The last step in creating an image is the editing process. This is where Photoshop comes in. Photoshop was actually developed to be used as a graphic design tool so Lightroom was developed specifically for photographers. However there are things that need to be done to photos such as removing a leash from a photo that are done much easier in Photoshop than in Lightroom so understanding both is critical. To say Photoshop and Lightroom are complicated is an understatement.

So if you've ever wondered why it costs so much to hire a photographer, it's because the really good ones are artists. I hired a photographer to take photos of Buddy a few years ago. I think I paid around $400 for the photo session. That is a lot of money and at the time I'm sure I didn't understand why it cost so much but I really wanted to have professional images of my dogs. One of my BIGGEST REGRETS EVER is not having great pictures of my first two dogs Sloan and Sam. They are both gone now so I missed the opportunity to have great photos of them. I have a ton of pictures of them but none of them are great and by great, I mean the kind that come from a professional camera used by a professional photographer.

my heart dog Buddy

With the cameras that come on our phones these days, you can take a decent picture but most of us aren't going to take great pictures with them. You're probably not going to take a picture you can enlarge and hang on a wall in your house to remember Sloan or Sam when they're gone. But I do have enlarged photos of Buddy on the walls in my house and that $400 was worth every penny. Buddy was worth every penny.

I am going to master this photography learning curve so I can create images that will make others feel like I feel when I see those photos of Buddy.

Saying Goodbye

saying goodbye to Dusty Saying goodbye is so hard and yesterday I had to say goodbye to my client's much loved dog Dusty. I met Dusty on November 9, 2009 and I walked him pretty much every Monday through Friday since then. I was amazed when I looked back and saw that it had been 6 years. 6! No wonder this loss has hit me so hard. He was the best little guy ever and always such a happy dog. Dusty had a health scare 3 months ago and we knew his time with us was probably limited so we tried to enjoy every day we had with him.

I am so thankful that it stopped raining on Monday 11/9 and that Dusty and I had a nice walk. He couldn't see or hear well anymore but his legs and his nose both worked great. If there was a piece of chewing gum or other food on the ground, you can be assured that he would try and find it. Luckily for me he was pretty obvious about it so rarely did actually get to whatever it was he was trying to find.

When I think of Dusty, these things make me smile: 1. His name. Dusty Lovin. To most he was known as "Dusty Lovin", not "Dusty." 2. The brown spots on his white nose. I loved them. 3. The way his short tail would wag when I walked him. 4. His solid looking back legs and the way they slightly bowed when he walked. He always walked in front of me and I could see his little lets just going. They always looked so solid and coming from a mom of labs who tend to develop arthritis in their back legs, I always loved Dusty's. 5. His mom. She works a lot but she still left me a note almost every morning. Sometimes a thanks, sometimes have a nice weekend. 6. On that last day, when I rubbed his back, his little tail wagged. Thank you Dusty for that.

I love you and miss you Dusty.

'Don't be sad that it is over. Be happy that it happened.' Dr Suess

Pet Photography Class

Yesterday I took a pet photography class. The good news is in the past year since I bought my Nikon, I have learned a lot. The bad news is, I didn't learn as much as I'd hoped I would yesterday. For anyone interested in pet photography and taking better pics of your own pets, here is my advice. 1. Have a lot of patience. (They did stress this a lot in the pet photography class yesterday.) When trying to take pictures of pets, it is really important to remember this. I don't consider myself an overly patient person but somehow when I have my camera and I'm working with a dog, I have all the patience in the world. It comes naturally to me and that is a good thing. 2. Have someone there with you who knows the dog. A lot of dogs don't like a camera in their face and won't give you very "natural" looks. When I'm photographing my own dogs, I experience this. I get a blank stare not the goofy smile I want. Even when I am making weird noises, if I have my camera ready to snap a picture, they don't respond like they normally would. Of course all dogs are different and I will add, some are easier to photograph than others. If you have someone to help you, have them stand behind you or in the direction you want the dog to look and make funny noises to get those cute expressions. 3. Don't use the dog's name to get his attention. Most often the dog will come to you when you use his name. If you want him walking (or running) towards you, then go ahead and use his name but if you're trying to get him to hold a pose, I wouldn't recommend it. 4. Put your pet up on something - a brick or stone wall, a park bench, etc. (Keep the dog's safety in mind of course.) Sometimes you can have better luck getting a dog to pose when he is up on something. 5. Try to capture catch lights in his eyes. To do this, have him facing the light source (the sun, a lamp, etc.) If you are using your phone, you may end up with the green glowing eyes however. Warning: Once you get a great photo of your dog with catch lights in his eyes, any other photo you see of him and he doesn't have catch lights, you won't like. Or at least this is what has happened to me. It is sad... I've not found great pictures of Sloan or Sam (my previous dogs) that have great catch lights. I will continue looking... perhaps I have some somewhere. 6. If you're using a DSLR camera, set the camera to Aperture mode and at F8 or F11. Try to focus on the dog's nose, particularly if you have a dog with a long snout. At F8/F11, you should be able to keep the entire dog in focus. (This is easier with smaller dogs... less to keep in focus. Ha!) 7. If you're using a DSLR camera and you are wanting to be more creative, in Aperture mode use F5.6 and focus on the nose. Part of his body and the background will blur. **Steps 6 and 7 are very basic examples and there are a lot of other factors to be considered really such as: how far away are you from the dog, how far away is the dog from the background, is the dog moving, etc.) 8. Don't use the built in flash on your DSLR camera. Ever.

In the pet photography class yesterday, they talked a lot about taking pictures of pets inside in more of a studio setting. Unfortunately, that isn't the type of shooting I do nor do I really want to do (at least not yet.) To do studio or portrait photography, you really need two off camera flashes, set on stands, and set to fire wirelessly. The external flash for my camera is $500. Until I am ready to really explore this option, I'll stick with mainly outside photography. Although I did purchase a lens for low light photography (which is generally what I am doing when I am shooting indoors.) I do have a favorite picture of Moose that I shot indoors. It's posted below.

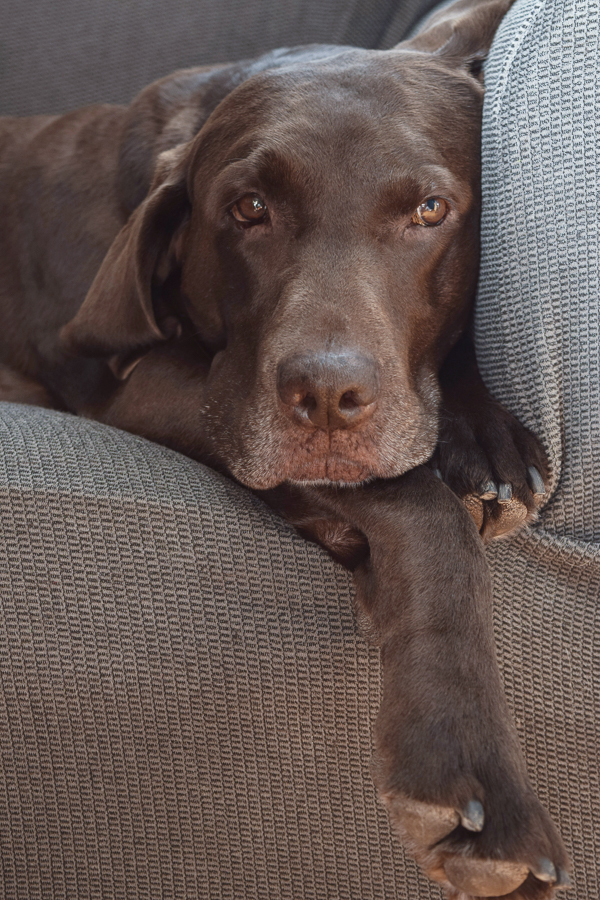
Here are a few more dogs I've seen recently (and these shots were all taken before the pet photography class yesterday.)

Pet Photography Class

Pet photography class

Moose