pet photography Charlotte

Learn to Isolate - Project 52 - week 9

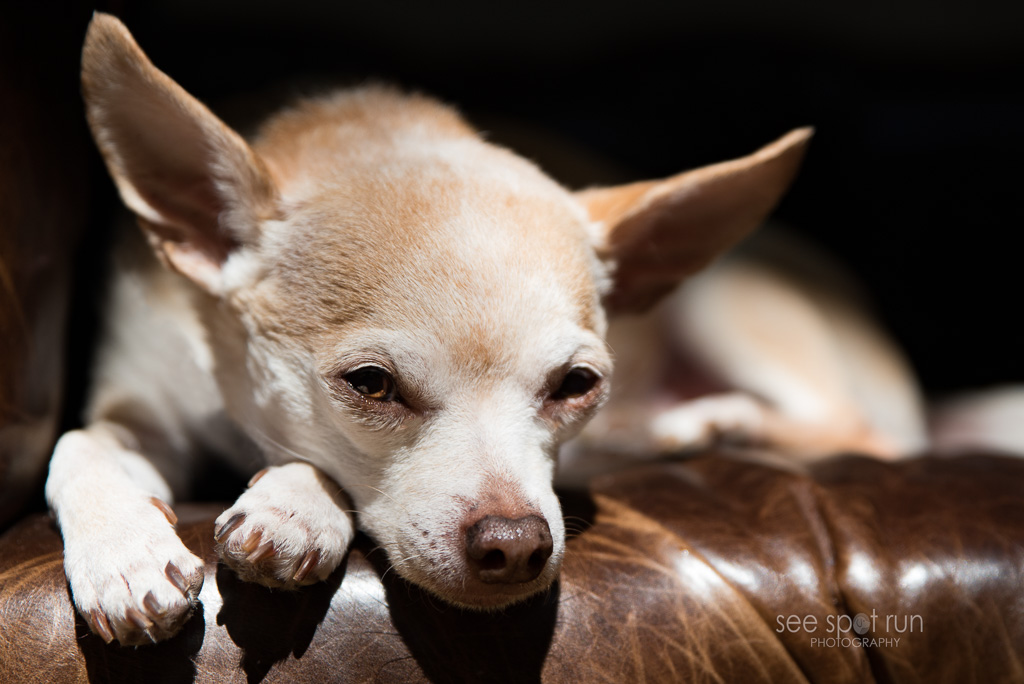
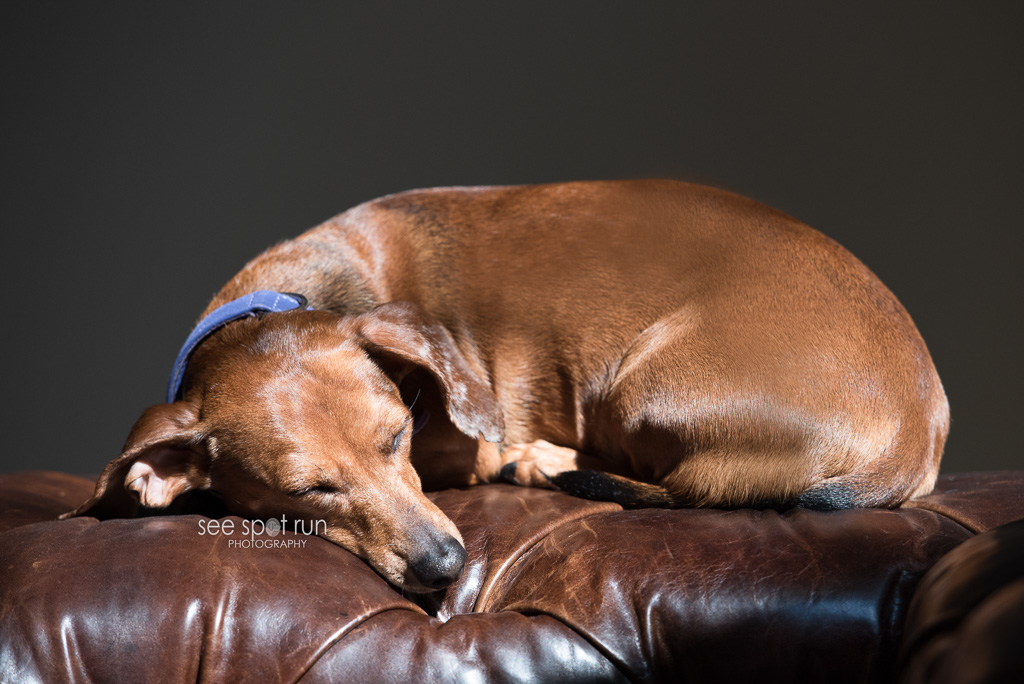
Our Project 52 week 9 challenge is to Learn to Isolate.  The instructions were to look at a few images from other photographers I love and ask what role does isolation play in the image.  I am drawn to images that are really close up and those that are monochromatic.   I knew immediately I wanted to take some really close up photos to isolate the eyes, nose or ears.  I thought this was going to be simple.  I was wrong.  I even pleaded for help to the Project 52 online group and thanks to Susannah for making a few suggestions. I was excited to begin taking photos but I struggled with getting the results I wanted.  I wanted to get really close to my subject but that created a few problems.  First problem:  Some dogs don't want a camera that close to them so that means I needed to find a subject that didn't care at all about my camera.  Enter super cute little chihuahua Sunny and dachshund Louis. :)  (FYI - I was hoping for a photo of even littler Lola, a white chihuahua who lives with Sunny and Louis but she was being a little camera shy.)  2nd problem which was harder than the first:    Determining which lens would be best to use.  I tried every lens I have.

learn to isolate

learn to isolate

learn to isolate

This challenge is going to be one that I will continue to work on since I am drawn to photos that isolate different parts of a subject.

I love doing these weekly challenges because I always learn something and this past week was no exception.  I learned a lot about depth of field and how close I can physically be to my subject when I am photographing them to keep them sharp.  On Sunday of last week, I started working on this challenge and I learned more that Sunday about photography than I have in quite some time.

As a new photographer, I am still finding my way and identifying my own style.  This exercise really helped me take several steps forward with my own personal photography journey.

Next go to Little White Dog Pet Photography - Sioux Falls, SD  to read about her take on Learn to Isolate. Remember this is a blog circle so keep clicking the links at the end of each post.  Happy reading!
Using a Slower Shutter Speed & Panning: Project 52 week 7 and 8

This week we combined the week 7 and week 8 challenges for Project 52: using a slow shutter speed and panning so I started with using a slower speed which I knew would be the easier of the two for me. Generally if you are trying to stop action in your image and you don't want your image to be blurry, you want your shutter speed to be at 1/250 or faster. Our instructions this week said to start with a shutter speed of 1/60. When using a slower shutter speed like 1/60, you are going to have some blur in your image. The trick was to create an image when this blur looks creative and not like a mistake. Well, my results are below and let me just state other than for the sake of this exercise, this isn't an image I would normally post online for everyone to see because its not very artsy looking. One of my biggest takeaways from this week's challenge was this information I got from the Photo Nuts & Shots ebook by photographer Neil Creek. In the book, he writes: "It may seem like your camera is capturing an instant in time, but in reality it’s capturing a duration of time equal to your shutter speed. This becomes critical to the image sharpness when there is movement during the exposure. This movement can be of the subject – referred to as ‘motion blur’, or of the camera itself – referred to as ‘camera shake’. One distinguishing feature of camera shake, when compared with motion blur, is that it affects the whole image. When a subject moves, only the moving parts appear blurred, but if the camera moves, the whole sensor moves relative to the subject."

I at least now understand the difference between motion blur and camera shake and I was able to accomplish motion blur in my image.

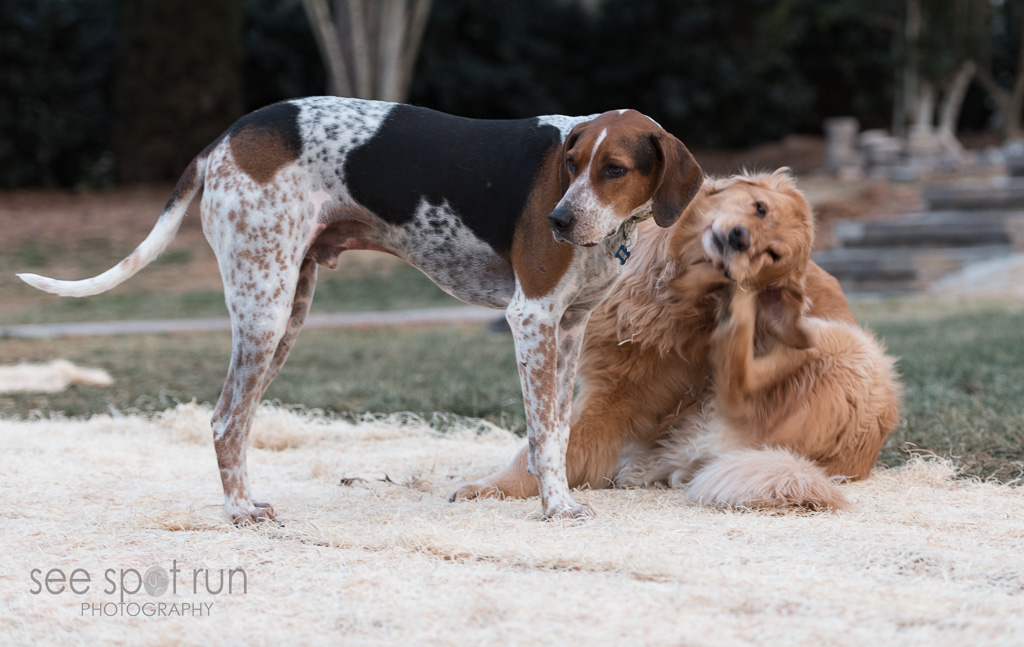
My models this week were Ollie (hound) and Sunny (retriever.) This shot was taken with a shutter speed of 1/30 (f/2.8 and ISO 100.) You can see that Ollie is sharper than Sunny. Sunny is moving faster than Ollie since he is scratching and he is also behind Ollie in the image which I believe would also impact why Ollie is sharper than Sunny.

using a slower shutter speed

The next part of the challenge was panning. Once you master using a slower shutter speed, the instructions said that panning would be easier. I need more work on using a slower shutter speed so my attempts at panning were laughable. Here is my takeaway from this part of the exercise: I should start with a subject that is moving predictably like cars or kids on bicycles. I might have a little more success. :)

Next up in the blog circle is Northeastern PA Pet Photographer, I Got The Shot Photography. Be sure to click the links at the bottom of each post. I am certain the others had better success with the challenge this week than I did!