Learn to Isolate - Project 52 - week 9

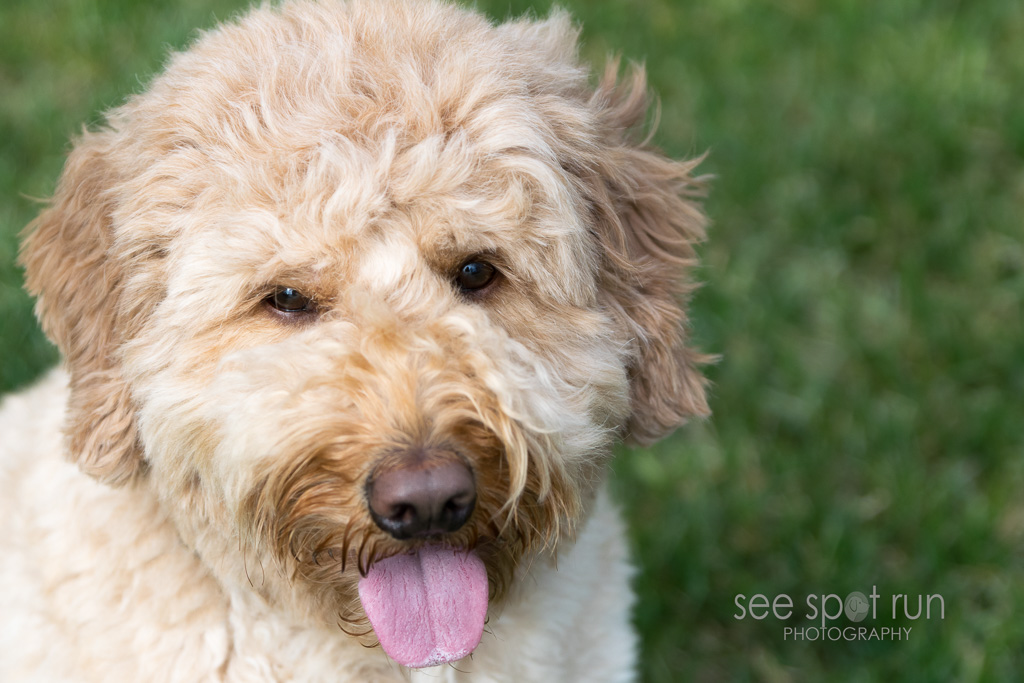
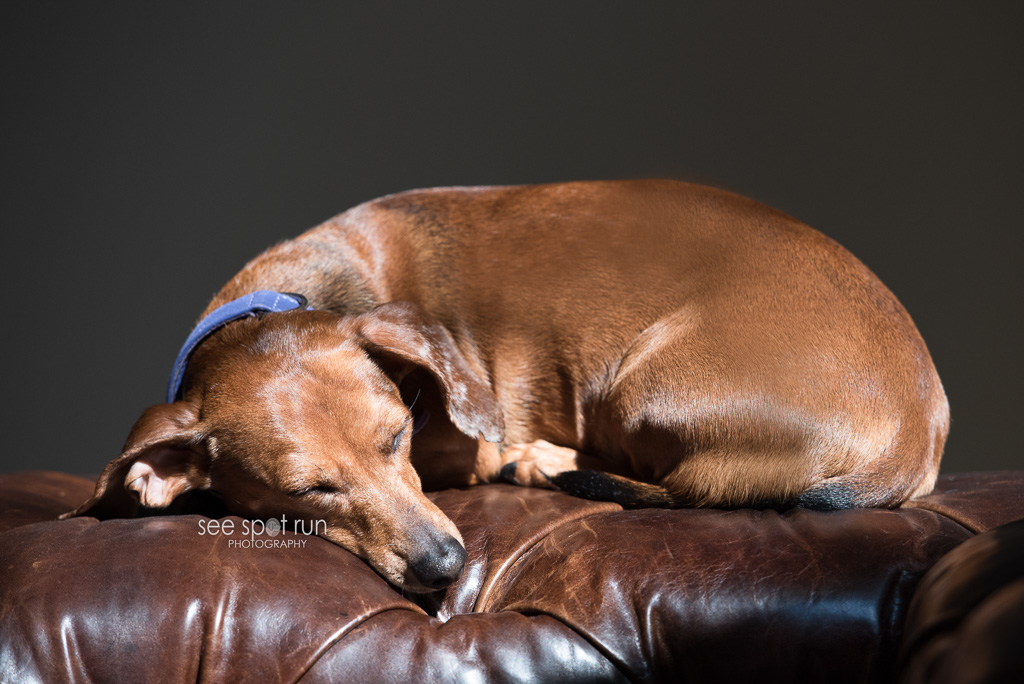
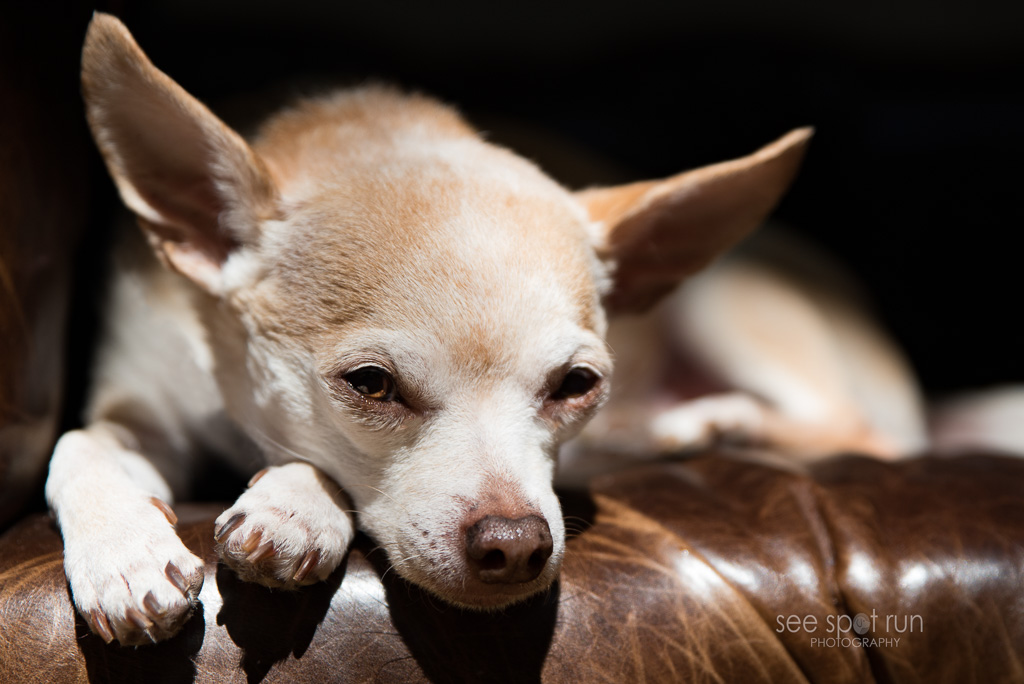
Our Project 52 week 9 challenge is to Learn to Isolate.  The instructions were to look at a few images from other photographers I love and ask what role does isolation play in the image.  I am drawn to images that are really close up and those that are monochromatic.   I knew immediately I wanted to take some really close up photos to isolate the eyes, nose or ears.  I thought this was going to be simple.  I was wrong.  I even pleaded for help to the Project 52 online group and thanks to Susannah for making a few suggestions. I was excited to begin taking photos but I struggled with getting the results I wanted.  I wanted to get really close to my subject but that created a few problems.  First problem:  Some dogs don't want a camera that close to them so that means I needed to find a subject that didn't care at all about my camera.  Enter super cute little chihuahua Sunny and dachshund Louis. :)  (FYI - I was hoping for a photo of even littler Lola, a white chihuahua who lives with Sunny and Louis but she was being a little camera shy.)  2nd problem which was harder than the first:    Determining which lens would be best to use.  I tried every lens I have.

learn to isolate

learn to isolate

learn to isolate

This challenge is going to be one that I will continue to work on since I am drawn to photos that isolate different parts of a subject.

I love doing these weekly challenges because I always learn something and this past week was no exception.  I learned a lot about depth of field and how close I can physically be to my subject when I am photographing them to keep them sharp.  On Sunday of last week, I started working on this challenge and I learned more that Sunday about photography than I have in quite some time.

As a new photographer, I am still finding my way and identifying my own style.  This exercise really helped me take several steps forward with my own personal photography journey.

Next go to Little White Dog Pet Photography - Sioux Falls, SD  to read about her take on Learn to Isolate. Remember this is a blog circle so keep clicking the links at the end of each post.  Happy reading!

Wide Angle Inclusion - Project 52 - week 8

Our Project 52 week 8 challenge is to "use a wide angle lens to create a sense of inclusion."   The book we are using as our guideline, "The Visual Toolbox" states that wider lenses more closely mimic our peripheral vision and will allow the viewers to feel as if they're part of the scene.   I must admit when I read this week's assignment, I got excited.  After last week's not so great results, I felt I might have better success with wide angle inclusion AND I was headed to the NC mountains with friends (and their dogs!)  What perfect timing for our assignment using a wide angle lens and my subject Topsy the golden retriever was more than happy to model. Then I got a little side tracked.

I was soooo excited to be out with my camera, I forgot to keep the focal length wide.  I started out using my 24-70mm lens and I did take some shots in the 26mm range but most of the ones I ended up taking were 70mm+ because I put a bigger lens on my camera.   I forgot about the actual intent of the challenge 'wide angle inclusion' as I was just focused on trying to get a sharp image of my subject who was not still for very long periods of time. :)  Can you blame her?

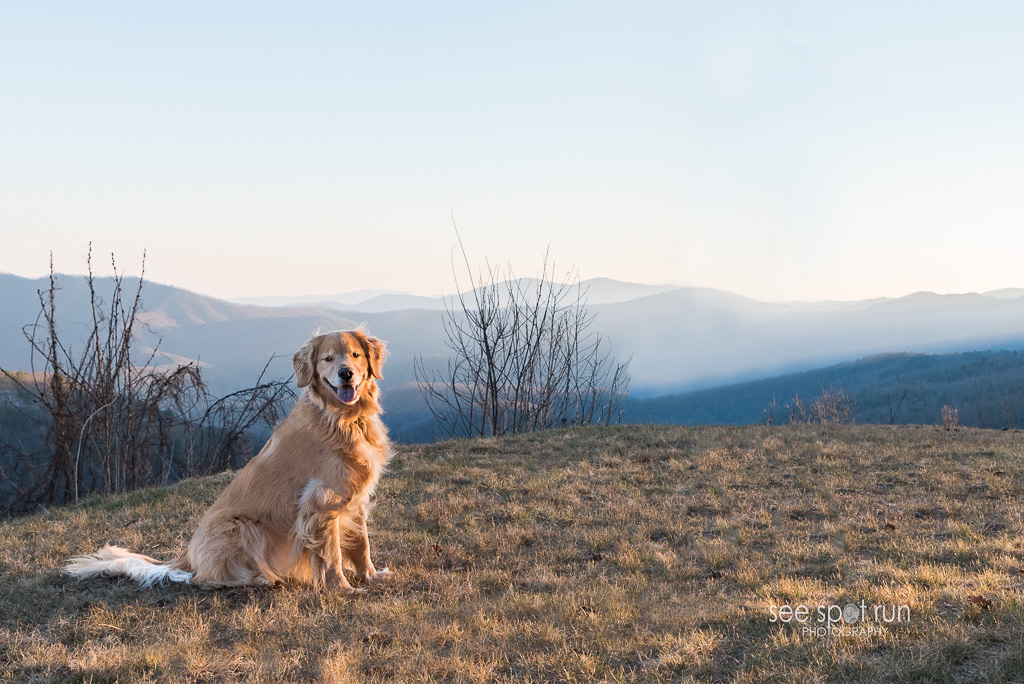
This image isn't tack sharp but it was shot at 26mm.  Topsy is actually in a harness, on leash with her mom holding the other end, all of which is in the original photo so this one provided great photoshop practice for me.  I also am wondering if I need to get my 24-70mm lens calibrated.  After this past weekend, I want to set it up on a tripod and see if I get sharp results because I'm not happy with these and I'd like to think it may be the lens and not me. (That however is not likely I'm afraid!)

wide angle

I loved this assignment and I wish I would've had even more time in the mountains to practice because what this really taught me is that I need more instruction on composition.  I had a beautiful subject and a beautiful background but my images "composition-wise" are lacking.  I would love suggestions from others on how I could've made this shot more appealing.

I've also recently been reading some facebook posts about using a Depth of Field (DoF) calculator.  I've not used one before but I think it would help me know where I need to be in relation to my subject.  Does anyone use one regularly and if you have an iphone, is there a specific DoF app you'd recommend?

Next up in the blog circle is Northeastern PA Pet Photographer, I Got the Shot Photography.  Be sure to continue clicking the links at the end of each post and then you'll end up right back here.


Using a Slower Shutter Speed & Panning: Project 52 week 7 and 8

This week we combined the week 7 and week 8 challenges for Project 52: using a slow shutter speed and panning so I started with using a slower speed which I knew would be the easier of the two for me. Generally if you are trying to stop action in your image and you don't want your image to be blurry, you want your shutter speed to be at 1/250 or faster. Our instructions this week said to start with a shutter speed of 1/60. When using a slower shutter speed like 1/60, you are going to have some blur in your image. The trick was to create an image when this blur looks creative and not like a mistake. Well, my results are below and let me just state other than for the sake of this exercise, this isn't an image I would normally post online for everyone to see because its not very artsy looking. One of my biggest takeaways from this week's challenge was this information I got from the Photo Nuts & Shots ebook by photographer Neil Creek. In the book, he writes: "It may seem like your camera is capturing an instant in time, but in reality it’s capturing a duration of time equal to your shutter speed. This becomes critical to the image sharpness when there is movement during the exposure. This movement can be of the subject – referred to as ‘motion blur’, or of the camera itself – referred to as ‘camera shake’. One distinguishing feature of camera shake, when compared with motion blur, is that it affects the whole image. When a subject moves, only the moving parts appear blurred, but if the camera moves, the whole sensor moves relative to the subject."

I at least now understand the difference between motion blur and camera shake and I was able to accomplish motion blur in my image.

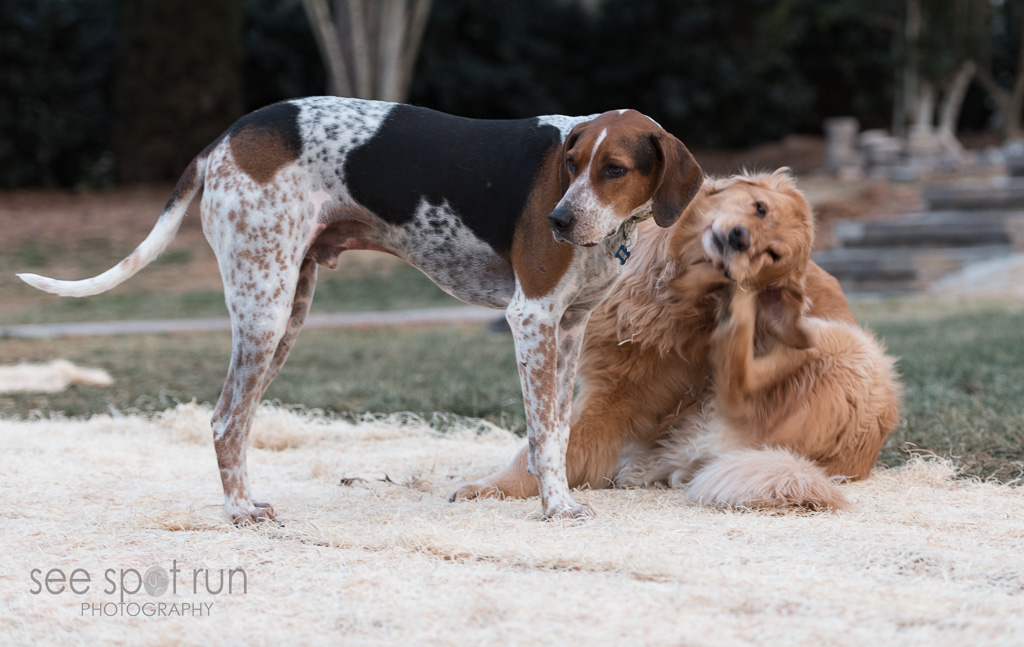
My models this week were Ollie (hound) and Sunny (retriever.) This shot was taken with a shutter speed of 1/30 (f/2.8 and ISO 100.) You can see that Ollie is sharper than Sunny. Sunny is moving faster than Ollie since he is scratching and he is also behind Ollie in the image which I believe would also impact why Ollie is sharper than Sunny.

using a slower shutter speed

The next part of the challenge was panning. Once you master using a slower shutter speed, the instructions said that panning would be easier. I need more work on using a slower shutter speed so my attempts at panning were laughable. Here is my takeaway from this part of the exercise: I should start with a subject that is moving predictably like cars or kids on bicycles. I might have a little more success. :)

Next up in the blog circle is Northeastern PA Pet Photographer, I Got The Shot Photography. Be sure to click the links at the bottom of each post. I am certain the others had better success with the challenge this week than I did!

Master the Triangle - Week 6 - Project 52

The photography challenge for week 6 is to Master the Triangle. Let me start by admitting, somehow I misinterpreted the instructions. The instructions were to: pick a scene with a strong foreground and focus on that. Begin with the highest shutter speed and widest aperture at ISO 400 and then slow down each a stop for your next image. Keep stopping down your aperture and shutter speed until you get to the tightest aperture. Repeat these steps by adjusting your ISO. Keep doing this exercise until you're comfortable with the give and take each adjustment provides." I understood the part about 'pick a scene with a strong foreground and to adjust the settings' but I also thought somewhere it said that 'the subject needed to be stationary.' I have no idea where I got that from. I was thinking my subject needed to be perfectly still and I couldn't figure out how was I going to get a dog to be perfectly still. Well as I did last week, I went with Plan B this week too. And I love Plan B. Her name is Delilah.

She is a 2 year old cock-a-poo that I have the pleasure of seeing every week because I am her dog walker. She has the most scrumptious fur and the color of it is a wonderful mocha. I could drink her up! She is a curious one and she loves her backyard. I love her backyard too. It is one of my favorite places to photograph. I thought I might have a chance of getting Delilah to be stationary in her yard (since I thought that was a requirement) and that I would have a chance to snap some photos and make the adjustments to the various settings without her moving a lot.

Here is my final image and when I sent it to Delilah's mom, she replied back I LOVE IT!!! I know my images and my editing need a lot of improvement because I'm not a seasoned professional photographer but when someone tells me they love an image that I took, I could almost weep with happiness.

master the triangle


Below are two images and the only thing I corrected on them was the white balance and the exposure. I wanted to post two photos that have different ISOs. They both have an aperture of f/11. The first one has an ISO of 400 and the 2nd image is ISO 2000. With this adjustment of my ISO, the shutter speed went from 1/50 on the first image to 1/250 on the 2nd. When I zoomed in on the 2nd image, I could seem more noise due to the higher ISO and it looks hazier to me. This was a good exercise and one I should continue to practice so I can master the triangle.

master the triangle

master the triangle

As promised, this post is much shorter than last week. YAY for me (and maybe even more for you, the reader!)

Remember this is a blog circle and up next is Pet Love Photography, serving Greater Cincinnati and the San Francisco Bay Area. Keep clicking the link at the end of each post to read each photographer's take on the assignment this week and to see the cute pictures they post.

PS I've read ahead to next week's challenge and I'm really excited to start working on it. I've also seen week 8.... oy! Week 8 is going to be hard for me! Stayed tuned.....

Project 52 - week 5

If this is your first time to my blog, welcome! I have joined a facebook pet photography group that challenges its members to blog and post pictures about weekly topics. This is my first week participating although technically the group is in week 5. The group is called Project 52 and this week's challenge is "Optimize your RAW Exposures." At the end of this post is a link to the next photographer participating in the Project 52 challenge. Be sure to click the link and read their interpretation of this week's assignment. Since I probably have some new readers who don't know me here is a quick blurb about me. My name is Kim and I started a dog walking and pet sitting company in 2008. (My 7 year anniversary is April 4. It'll be 7 years!!!) I started the dog walking business because I have always loved dogs. The photography didn't come in until 6 years later. I have always enjoyed taking pictures but I never really thought about it much more than that, until 2014. In 2014, our black lab Buddy's health was failing. I knew I didn't want to make the mistake with him that I'd made with my two previous labs, Sloan and Sam. One of my biggest regrets is not having great (really GREAT) images of them. I have tons of pictures of them but none are very good. So, in August 2014 I bought a Nikon. Buddy died 5 weeks later but the images I took of him I will treasure forever. A year and a half later I really realize how much I didn't know at the time I was taking those photos of Buddy. Someone was looking out for me because a couple of them are actually okay. And that is how See Spot Run Photography was born.

So back to Project 52 - week 5. Here is this week's challenge from this newbie's* perspective and here are the instructions I was given: For this week, turn the "blinkies" on (Highlight Warnings or something similar in your camera menu). Since we're shooting in RAW, don't use the LCD to judge your exposure, because it's reading the camera's JPG. Use the histogram for taking your images and try to keep the exposure as far right as you can. You'll adjust the color and exposure in your post-processing.

Let me just say, that I am proud that I actually knew what this meant. (Now knowing what this meant and translating it to an image are two totally different things as I discovered and you will too if you keep reading!) Someone a long time ago must've told me about the blinkies and the histogram because I look at them a lot. Blinkies are on the LCD screen on the back of the camera and they flash when the whites in your image are too bright. The flashing is generally not a good thing - it means you need to make some adjustments on the camera to tone them down. (I am sure if I go back and read this down the road I will be completely embarrassed that this is my explanation for flashing highlights!) To keep the exposure as far to the right as possible, that means when I look at the histogram on the back of my camera, all of the mountains (data) should be on the right side.

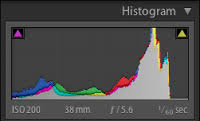
Below is an example of what a histogram in Lightroom looks like. I couldn't figure out how to copy the histogram for one of my photos but this is basically what I was trying to achieve. I wanted to take a picture and I wanted the histogram data (mountains) to look similar to this one, with the data mainly on the right side. If you are looking at the histogram, the far left side is black and the far right is white so it goes from dark to light. Since the project 52 challenge was to have the data on the far right side, I knew I needed to find a lighter colored subject. This histogram could represent a photo of anything but there is definitely some lighter colored objects in the photo since that's where most of the data is.
project 52

My goal was to have as many light colored objects in the image as possible to keep the data to the right. Blacks are on the far left side of the histogram so I didn't want anything black in the image. Task #1, I needed to find a dog to use as my subject.

I knew I was going to be walking Bailey today and Bailey is a precious, light tan colored, big-ole-fluff of a golden doodle. Unfortunately my walk with him was going to be around 1pm which is not ideal photo taking time but he is the only light colored dog I was seeing today. My 2nd problem was, I had no assistant to help me (which is frequently an issue I have.) Trying to take photos of dogs without someone to help is REALLY hard. (That's a topic for another discussion though.) After asking his family's permission to use him as my model and after our walk, we went to his backyard.

My initial thought was to have Bailey sit which he does really well if he knows he is going to get a treat. I thought I would position myself on the ground near him and shoot up at him with the sky in the background. It was pretty overcast (which was helpful since it was 1pm). I thought: light tan colored dog + overcast sky = most of the data pushed right. Right? Well, not exactly or at least not exactly when I took the photos. Bailey did great but he really didn't really understand why I so close to him on the ground. He kept wanting to stand up and when he stood up, he'd move around which is not an easy shot to try and take especially for me. (Why does my best assistant have to be 13 years old and in middle school at 1pm on a Monday?) Do I need to mention that at this point I am thinking to myself, " I hope the neighbors aren't watching!"

I moved on to Plan B even though I didn't really have a plan B. I did have an eye doctor appointment in about 30 minutes so I had about 15 more minutes to try and get a shot of him that met the Project 52 assignment. I can snap a lot of pictures in 15 minutes but getting a decent picture in that amount of time is hard and getting a decent image that meets the Project 52 challenge requirement might have proved to be impossible for me. But hey, that's why I'm doing this challenge, right? Chin up... I will strive to do better next week.

LESSONS LEARNED IN PROJECT 52 - WEEK 5: 1. Taking photos of dogs with long hair around their eyes is hard - I couldn't find them! 2. A black nose, black in the background and green grass will show up on the histogram on the far left and in the middle. Not the far right which was the assignment challenge. 3. By cropping a photo of Bailey, I was closer to fulfilling the assignment of creating a photo with most of the data on the right side of the histogram. (The 3rd photo.)

So, here is my effort for Project 52 - week 5.

project 52

project 52

If I crop this photo and get rid of most of the blacks and greens in the photo, then my histogram data is mainly on the right. :) Trust me on this... I cannot figure out how to copy the histogram here. I know it can be done but apparently not by me.

project 52 - week 5

And lastly, *how long can I call myself a newbie? I am hoping for a very long time because I still have so much to learn.

If I haven't mentioned that I love doing this, I do! The feeling I get when I'm behind the lens photographing a dog is priceless and to discover that at this point in my life is well... life changing. Who knew!

Remember to check out the next photographer's take on this week's assignment and next up is Hoof N Paw Fine Art Photography. I'm excited to read everyone else's posts and see the cute pictures they post (remember this is a pet photography group!) Be sure to continue clicking the links at the bottom of each post. You'll end up right back here at See Spot Run Photography when you're finished.

PS I promise to try and make the next post shorter! Whew... congrats if you made it through this one.
The Photography Learning Curve

In the past 3-4 months, I have been thinking a lot about what I'm calling the photography learning curve. I applied to and was accepted to attend a pet photography workshop this spring. (Look for future posts about this exciting... and I mean EXCITING news!) Once I was accepted to the workshop, I knew I needed to spend time on improving my photography skills. I know the point of attending the workshop is to become a better pet photographer so perhaps my previous statement doesn't make a lot of sense to some of you but I want to get everything I can out of the workshop and I don't want to feel like the topics being discussed are over my head. I knew I had a lot of homework to do prior to the workshop. I was having a conversation with a friend yesterday and he was asking about See Spot Run and the conversation turned towards my pet photography. I told him about the workshop this spring and how excited I am. His comment was "I didn't know there was so much to learn about photography." I laughed and told him I had no clue when I bought my camera in 2014. Let me just say, the photography learning curve is steep. The 'pet' photography learning curve is just plain hard. But oh how I love it!

Here is an example of a photo I took in December that I am really happy with the result and below it is a photo I took after having my camera for a few weeks. The differences in the photos are obvious, right? photography learning curve

Here is an example of a photo taken by me three weeks after I got my camera: photography learning curve

Both of these photos are close up shots of similar colored dogs. How can they be so different and why is one better than the other? The answer is what makes photography so complicated. (The answer isn't that one dog is staring directly at the lens of the camera.)

Photography and cameras are both complicated. How many of you have nice cameras but you don't know how to really use them? Are you confused by all of the dials and buttons? Is yours just programmed to be used on automatic?

I recently read an ebook entitled "Photo Nuts and Bolts" by Neil Creek. The introduction discusses understanding the theoretical fundamentals of a camera and let me just say, I struggled through my science classes in high school and I struggled with understanding the concepts in this book too. The ebook discusses how a pinhole camera works and how bending light affects all photography. This is known as refraction and is something I've not ever thought about when I am taking a photo until now.

Understanding aperture, shutter speed, and ISO (the exposure triangle) are critical to taking good photos. Understanding white balance, metering, focal length, depth of field, and even more complicated subjects like hyperfocal distance are all topics that are part of the photography learning curve.

To completely simplify photography, you can think about these 3 parts: 1. Understanding the camera 2. Actually taking the picture 3. Editing the picture

Once you know how to use your camera, then there are an entirely different set of issues to think about before snapping the shutter button. What is your light source and where is it? If you are outside taking pictures for 30 minutes, is your light source changing? If you photographing a dog and he is running around in the shade and in the sun, your light source is changing! Then there is composition. There are books written solely on composition and there are actually rules about proper composition. Who knew??

The last step in creating an image is the editing process. This is where Photoshop comes in. Photoshop was actually developed to be used as a graphic design tool so Lightroom was developed specifically for photographers. However there are things that need to be done to photos such as removing a leash from a photo that are done much easier in Photoshop than in Lightroom so understanding both is critical. To say Photoshop and Lightroom are complicated is an understatement.

So if you've ever wondered why it costs so much to hire a photographer, it's because the really good ones are artists. I hired a photographer to take photos of Buddy a few years ago. I think I paid around $400 for the photo session. That is a lot of money and at the time I'm sure I didn't understand why it cost so much but I really wanted to have professional images of my dogs. One of my BIGGEST REGRETS EVER is not having great pictures of my first two dogs Sloan and Sam. They are both gone now so I missed the opportunity to have great photos of them. I have a ton of pictures of them but none of them are great and by great, I mean the kind that come from a professional camera used by a professional photographer.

my heart dog Buddy

With the cameras that come on our phones these days, you can take a decent picture but most of us aren't going to take great pictures with them. You're probably not going to take a picture you can enlarge and hang on a wall in your house to remember Sloan or Sam when they're gone. But I do have enlarged photos of Buddy on the walls in my house and that $400 was worth every penny. Buddy was worth every penny.

I am going to master this photography learning curve so I can create images that will make others feel like I feel when I see those photos of Buddy.